

Contacts
Pre-saved counterparties — companies or individuals — and their trusted crypto addresses, reusable across outbound payouts.
A Contact is a pre-saved counterparty — either a company or an individual — together with one or more trusted crypto addresses. Once you have created a Contact, you can pay it from any wallet on any outbound flow without re-entering the destination details each time.
Contacts solve a specific problem: outbound payments often go to the same destinations repeatedly — suppliers, payroll, treasury sweeps, intercompany transfers. Storing the counterparty and their addresses once means you can pay them in a couple of clicks thereafter, and your operations team can review trusted destinations centrally.
A Contact and its addresses
Contacts have two levels:
- The Contact itself — the company or individual, with their identifying details (name, registration number, country, etc.).
- One or more crypto addresses attached to the Contact, each tagged with an asset and network and a short description.
A single Contact can hold many addresses. For example, "Acme Corp" might have a USDT-on-Tron address for one payout type and a USDC-on-Ethereum address for another — both under the one Contact.
Two contact types
When you add a Contact, you choose Company or Individual at the top of the form. The two have different field sets:
| Field | Company | Individual |
|---|---|---|
| Name | Company name — the official registered name | First name and last name |
| Description | Short memorable label (e.g. EU entity) | Short memorable label (e.g. Jim — UK tech supplier) |
| Registration / ID | Company registration number | — |
| Country | Country of company registration | Country of residence |
| Address | Address line 1/2, city, post/ZIP, region/state | Address line 1/2, city, post/ZIP, region/state |
| Date | Date of Incorporation | Date of Birth |
| "This is my company" | Available — mark if the Contact represents your own entity (an intercompany wallet, for example) | — |
The "This is my company" toggle on the Company form distinguishes third-party counterparties — suppliers, payroll recipients — from your own internal entities, such as a treasury wallet held by another corporate account you own.
Create a Contact in the Portal
- Sign in to the Account Portal.
- Go to Contacts in the left navigation.

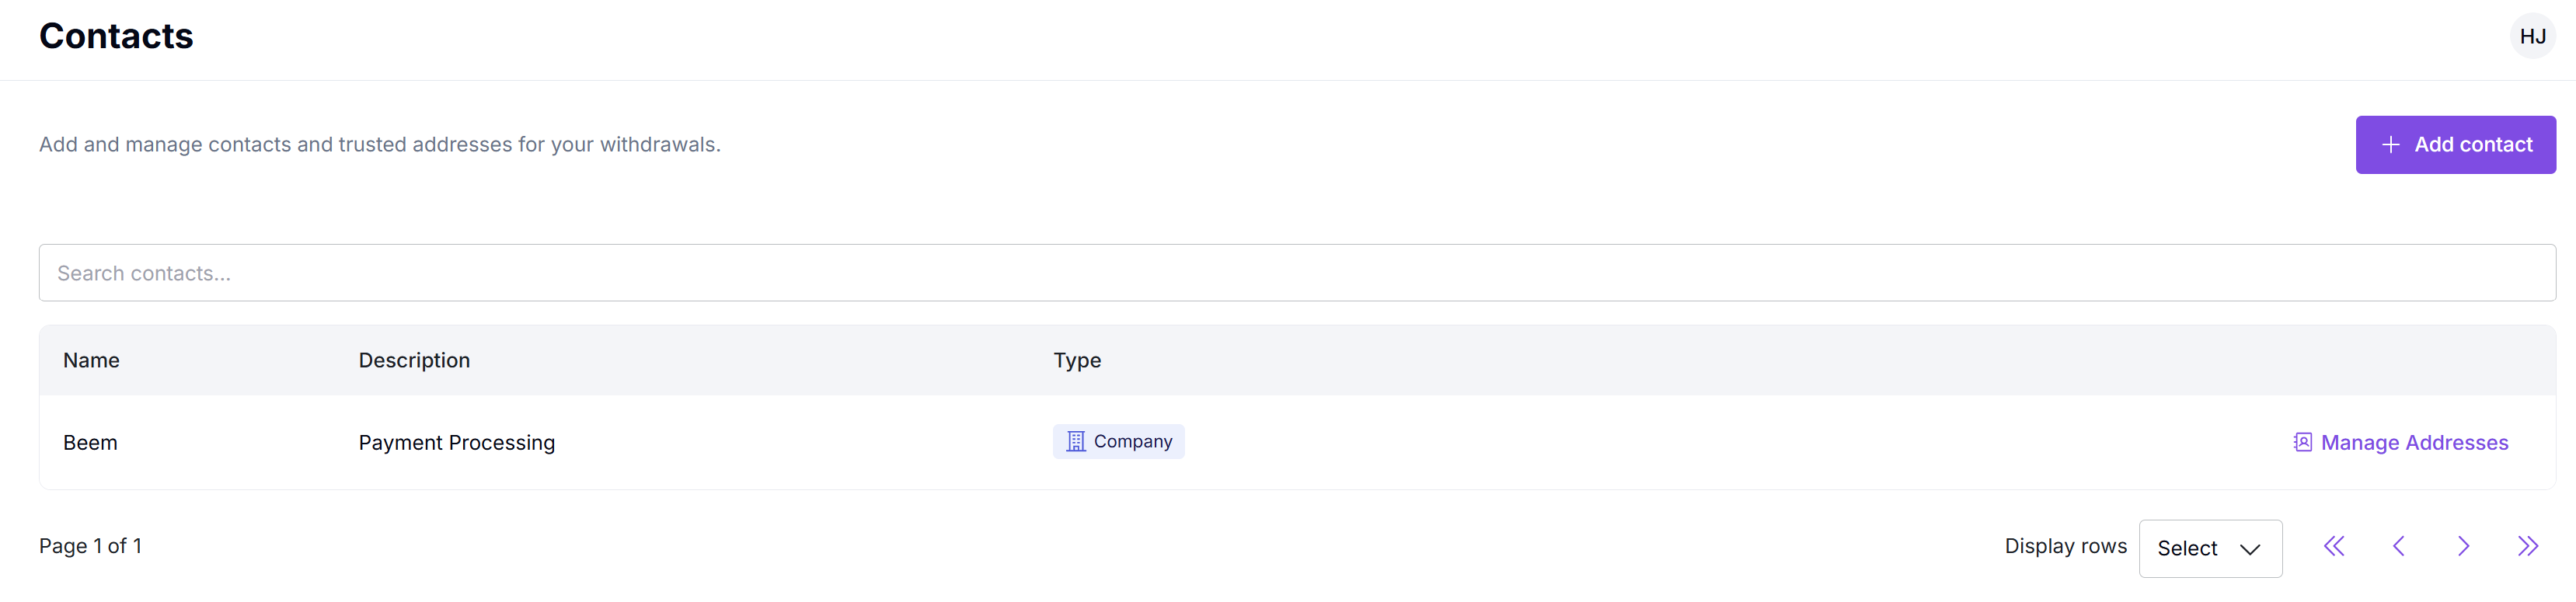
The Contacts list. Click + Add contact to start a new one.
- Click + Add contact in the top right.
- Choose Company or Individual at the top of the form.
- Complete the required fields (marked with
*) and any optional ones.
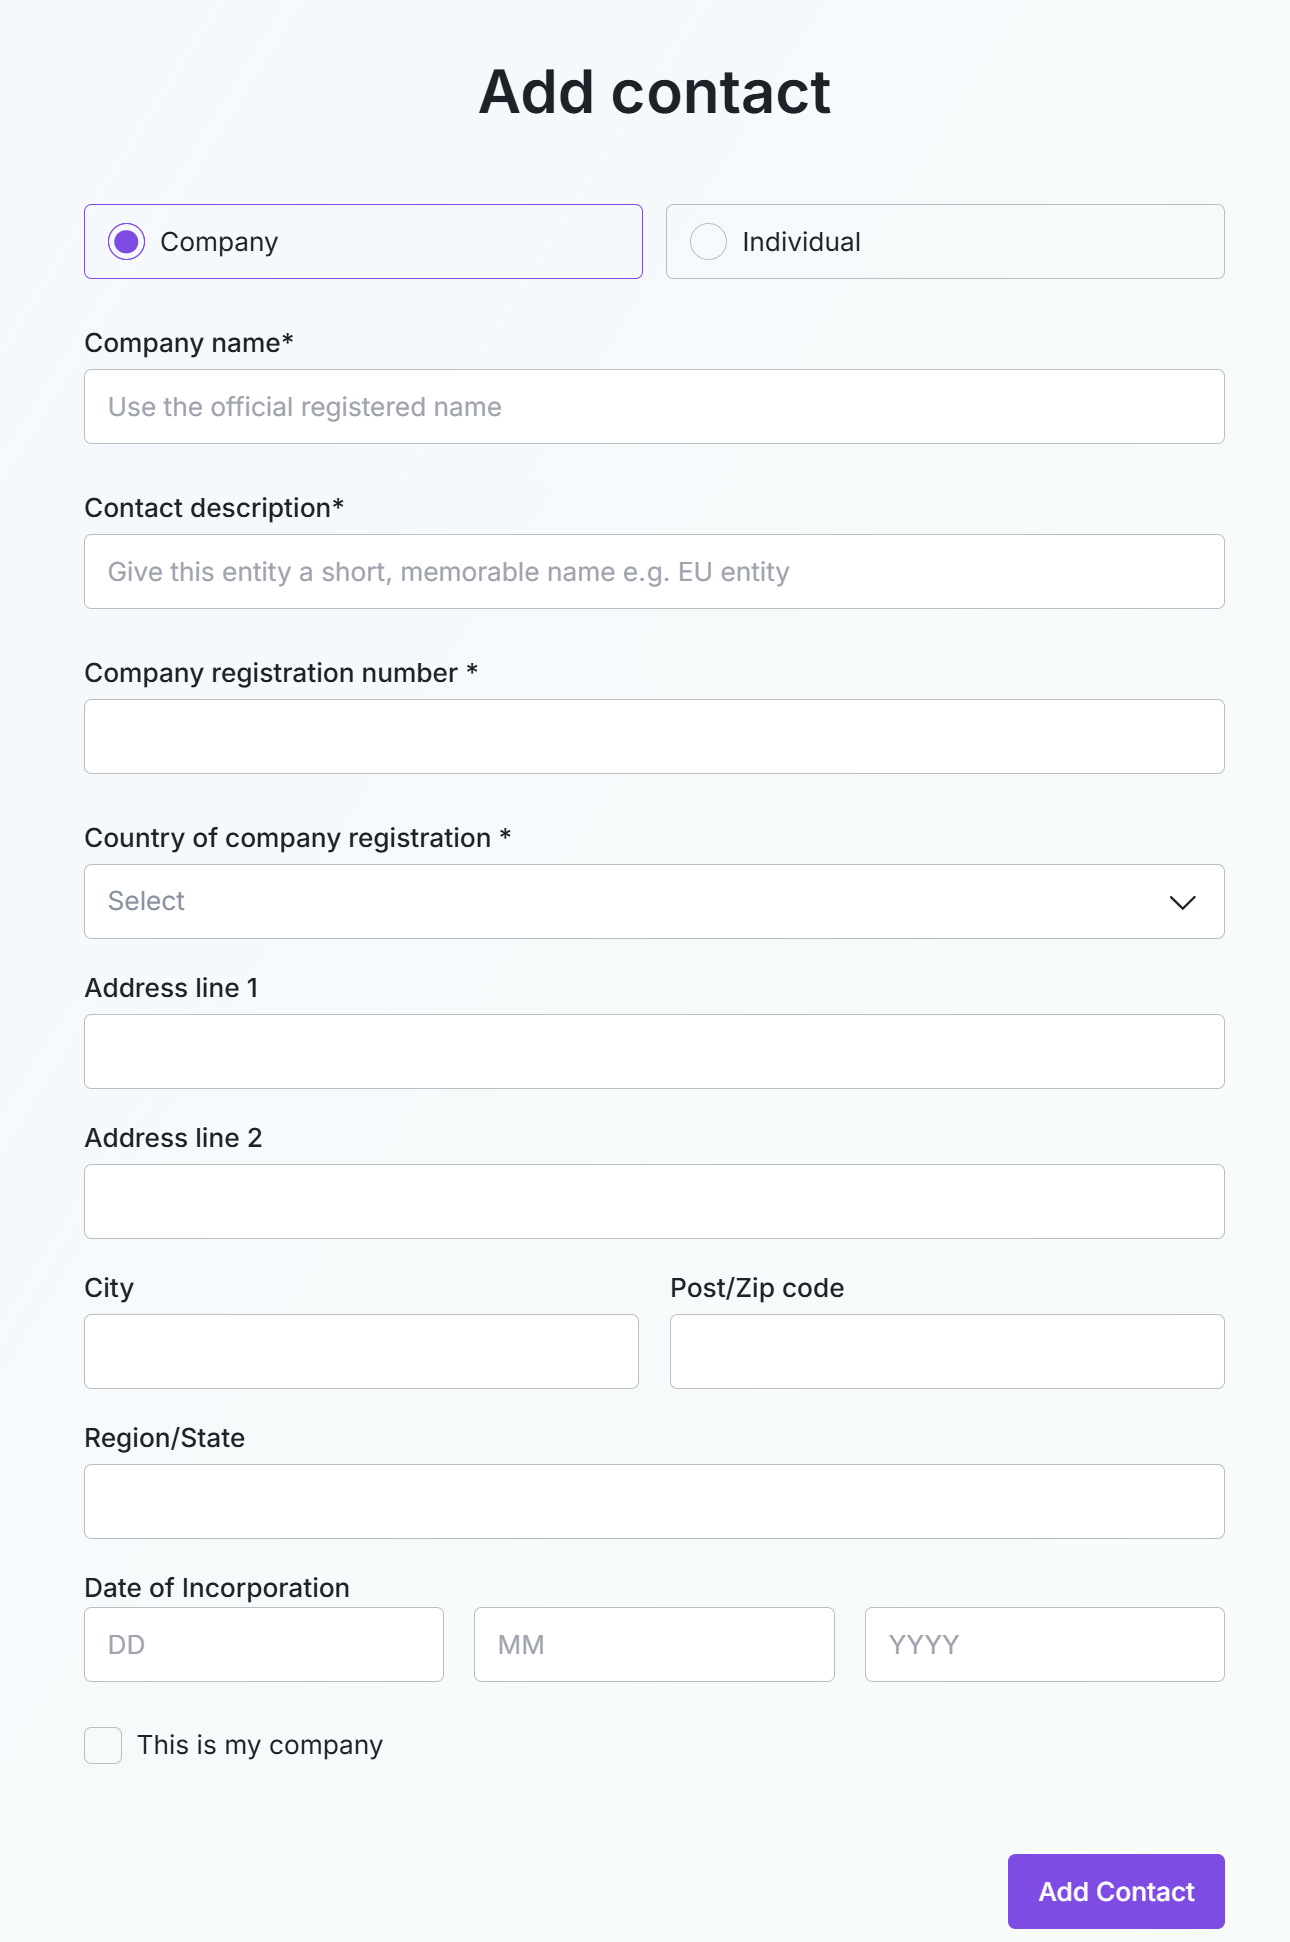
Add contact — Company. Registered name, registration number, country, address, and date of incorporation.
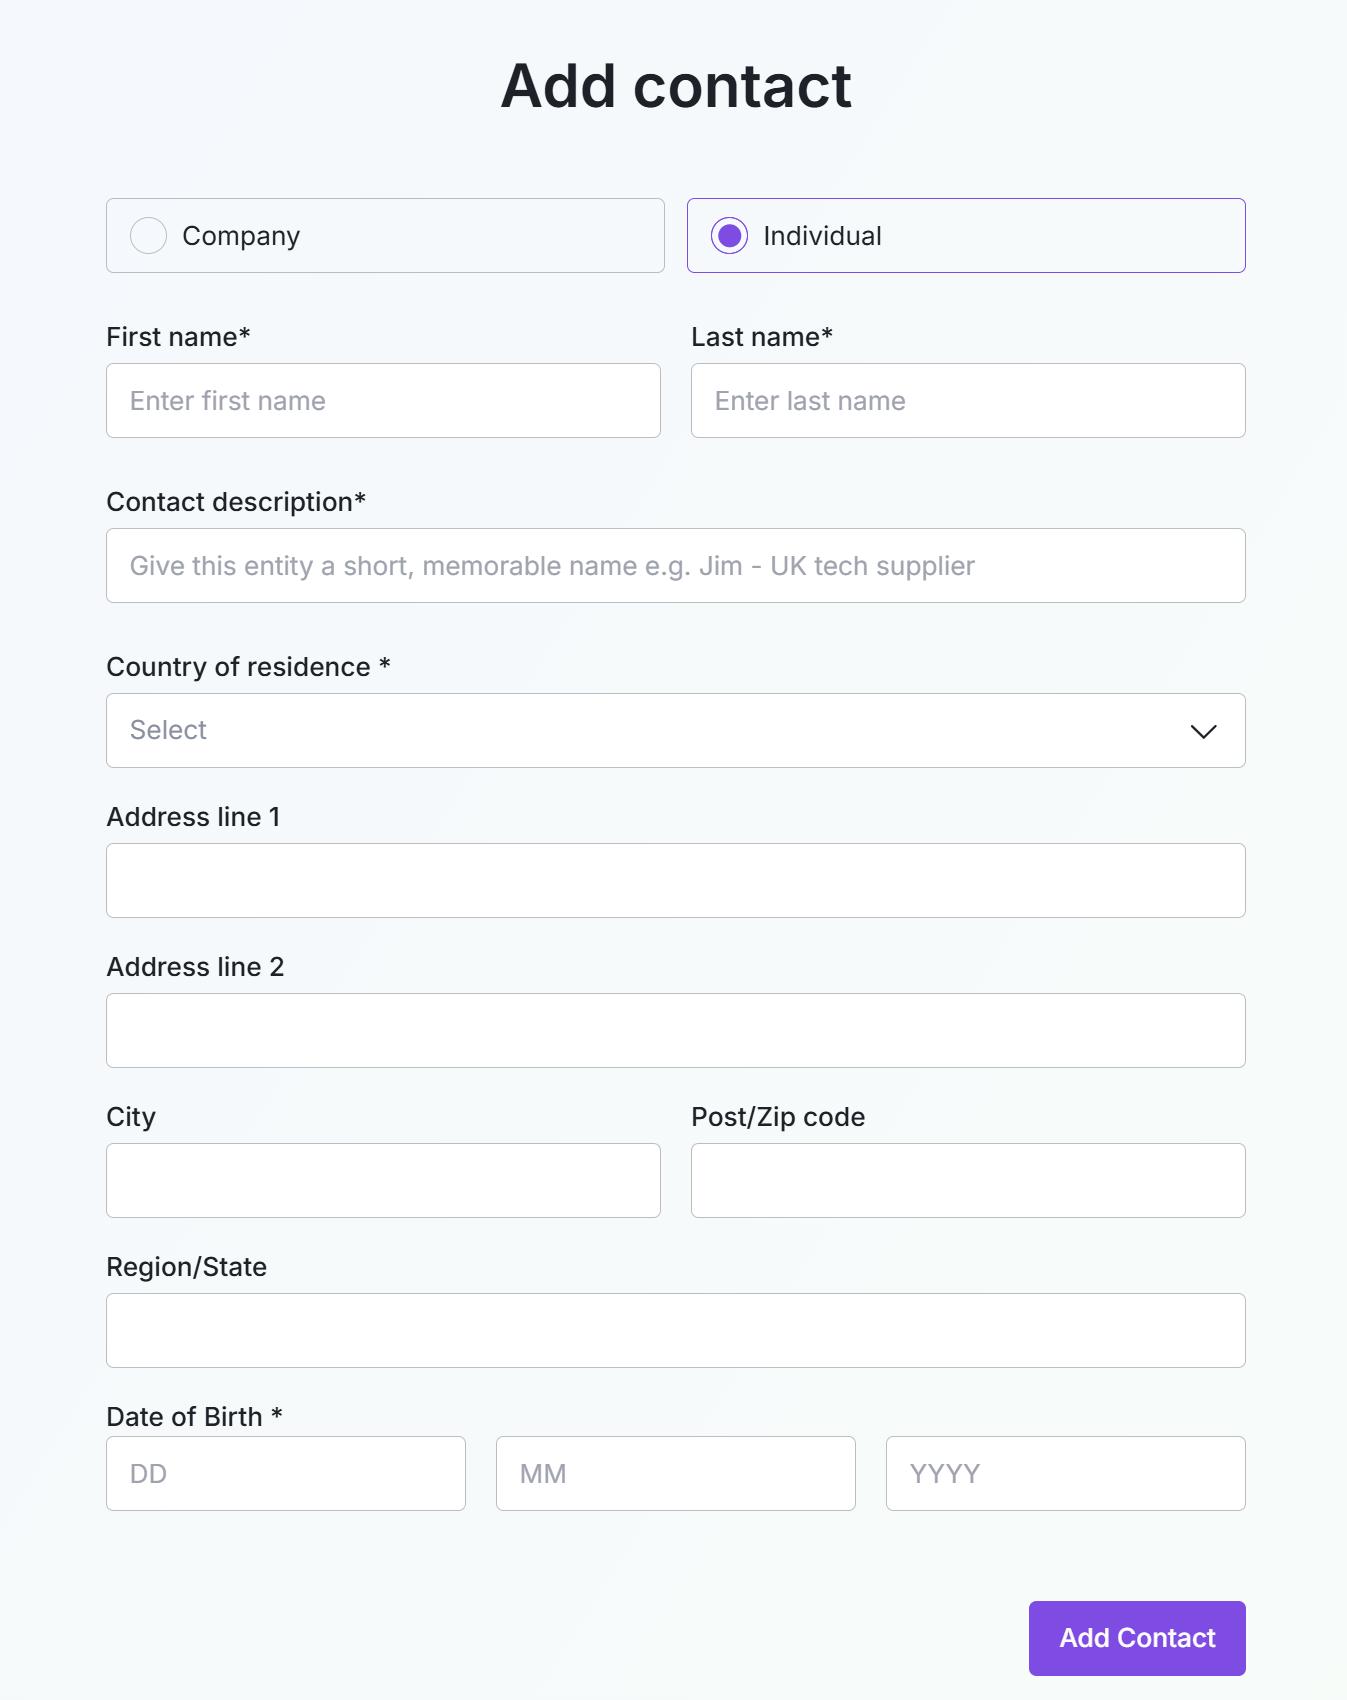
Add contact — Individual. First name and last name, country of residence, address, and date of birth.
- Click Add Contact. The new Contact appears on the Contacts list.
The Contact now exists but has no addresses yet — you add those in the next step.
Add addresses to a Contact
A Contact without addresses cannot receive funds. Addresses are added per-Contact.
- From the Contacts list, click Manage Addresses on the row — or click the Contact name to open its detail view.
The Contact detail view. The Contact's profile is on the right; trusted addresses are listed on the left.
- Click + Add address in the top right.
- Fill in the form:
| Field | Description |
|---|---|
| Description | A short label for this address (e.g. Operation USDT Wallet). Helps your team identify which address is which when picking one during a payout. |
| Asset & Network | The asset and the network it operates on, picked together from one dropdown (e.g. USDT — TRC20). |
| Address | The crypto address itself. |
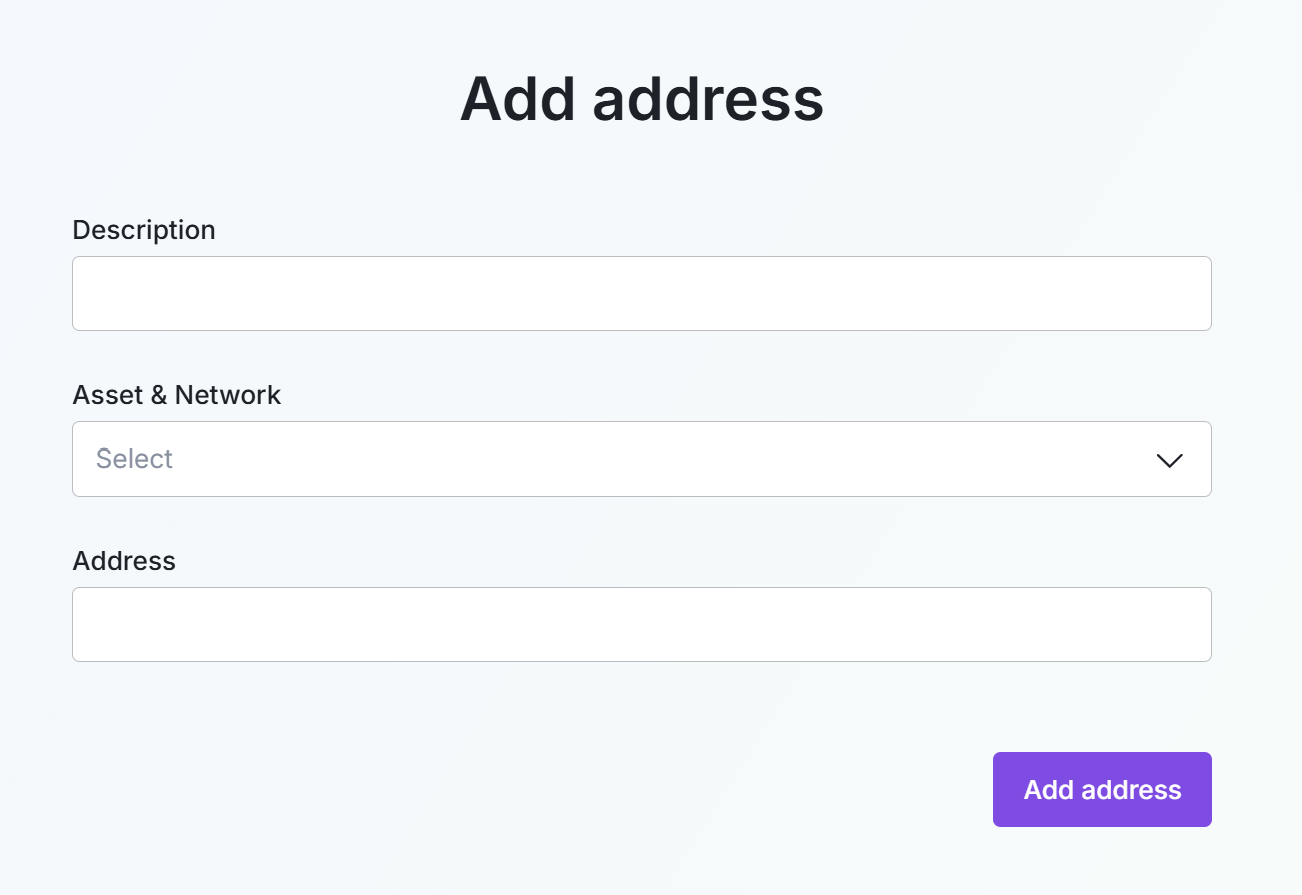
The Add address dialog. Description, asset & network, and the address itself.
- Click Add address. The address appears in the Contact's address list.
Repeat for as many addresses as the Contact needs. Each address has its own asset/network — one Contact can hold a mix of (for example) USDT on Tron, USDC on Ethereum, and BTC on Bitcoin, side by side.
Using a Contact in a payout
Once a Contact has at least one address, you can pay it from the Send crypto action on the Wallets page (or via the API as a With Detail payout). In the Send funds dialog, choose To → Contact and pick the saved Contact — the destination details (address, network, currency) are populated from the Contact's address list. See Payment Link Out — With Detail.
Editing and removing
| Object | Edit | Remove |
|---|---|---|
| Contact | Edit name, description, registration/ID, country, address, and date fields via the pencil icon on the Contact detail view. | Delete the Contact from the Contact detail view. Removing a Contact removes all its addresses. |
| Address | Edit via the address row. | Delete via the trash icon on the address row. |