

Setting up a TronLink wallet
Install TronLink, switch to the Nile testnet, and prepare to receive test TRX and USDT TRC20.
For testing TRX and USDT TRC20 payments through BEEM's sandbox, TronLink on the Nile testnet is the recommended wallet. This guide walks through installation and switching to the Nile testnet.
Steps
- Install TronLink in your browser — download here. Chrome is recommended. Follow the steps carefully and save your password and recovery codes in a safe place.
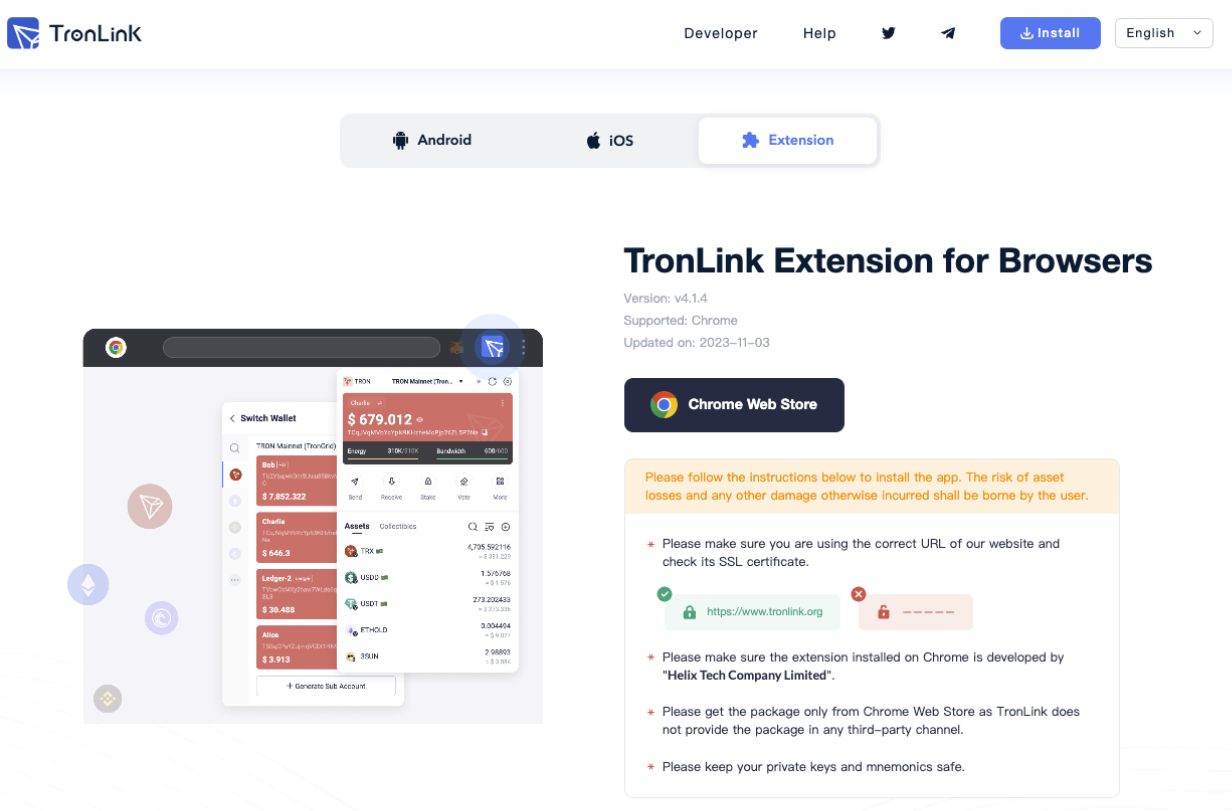
TronLink installation screen
- Pin the extension to your browser by pressing the puzzle icon in the toolbar, then the pin icon next to TronLink.
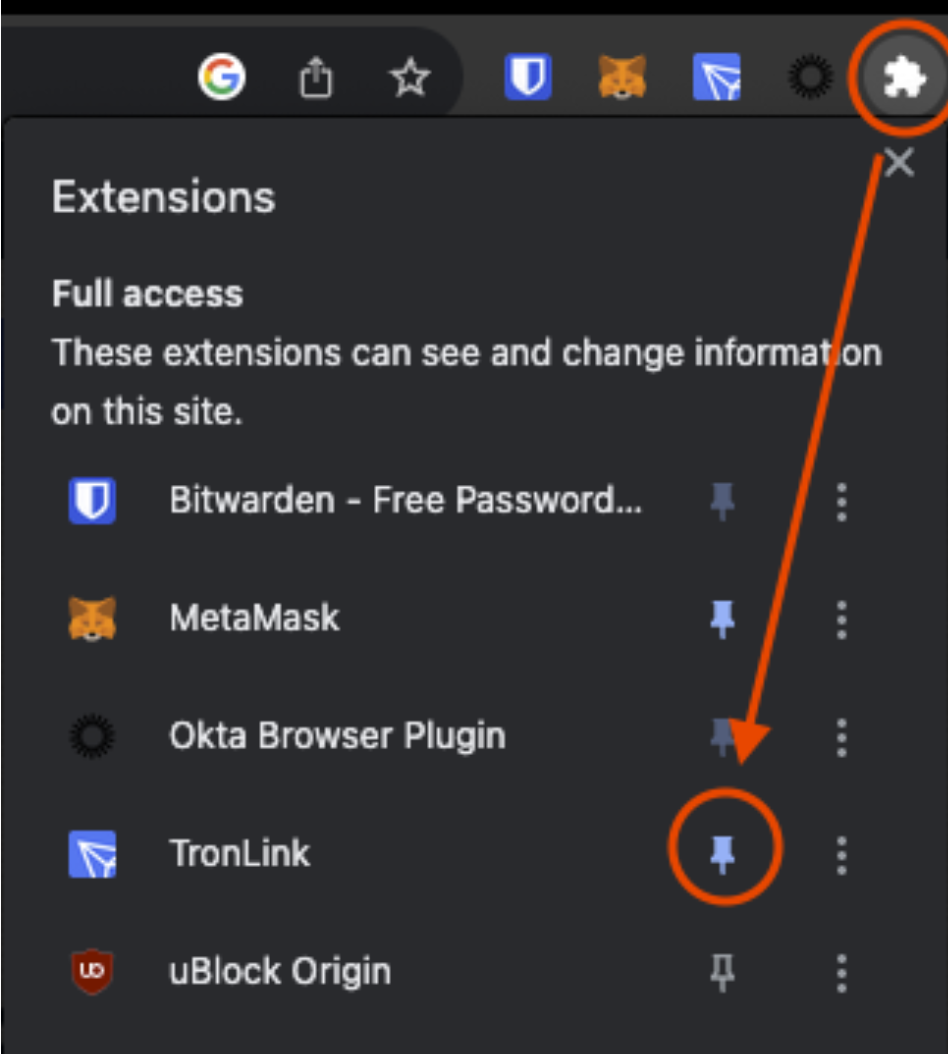
Pinning TronLink in Chrome
- Open TronLink by clicking the white arrow icon and create a new wallet. Follow the prompts and save your password and recovery codes in a safe place.

Creating a TronLink wallet
- Open the network dropdown. Once logged in you are on the TRON Mainnet by default. Click the networks dropdown at the top of the wallet.
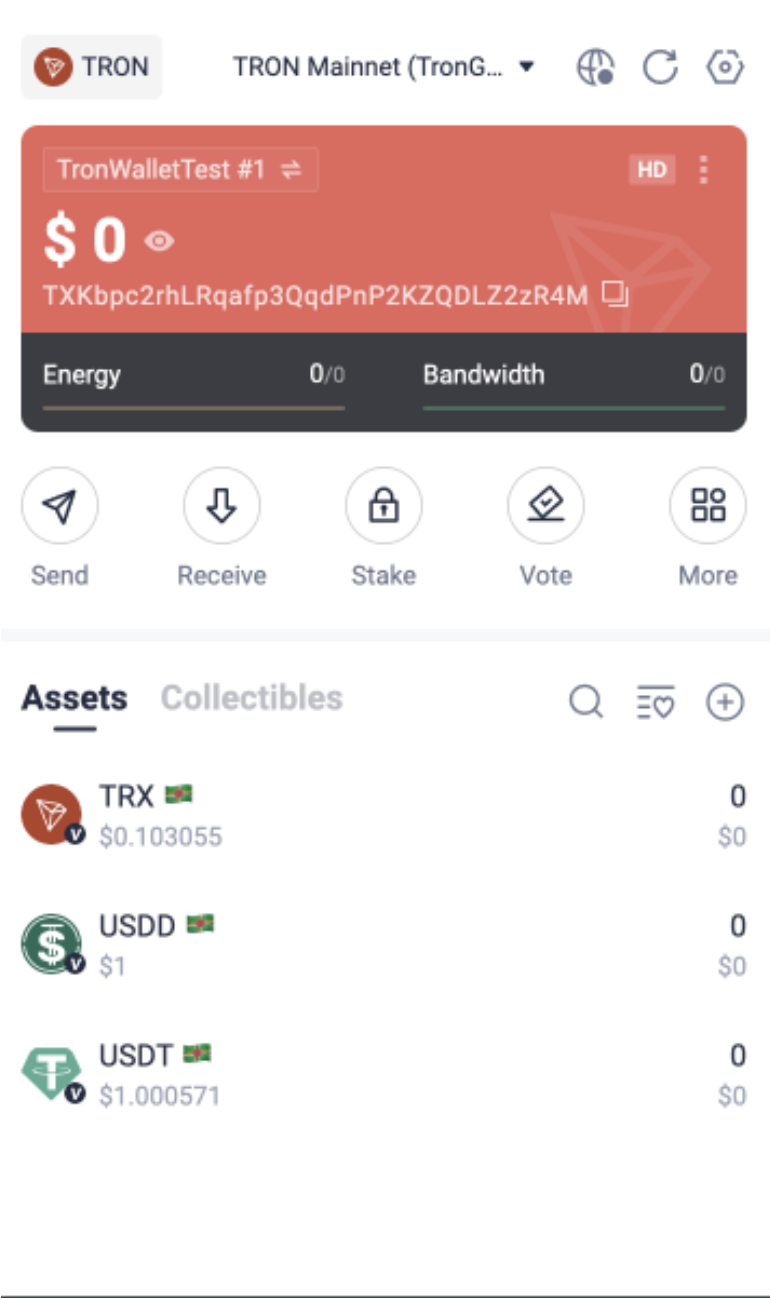
TronLink network dropdown
- Switch to the Nile testnet. Select TRON Nile Testnet from the network list.
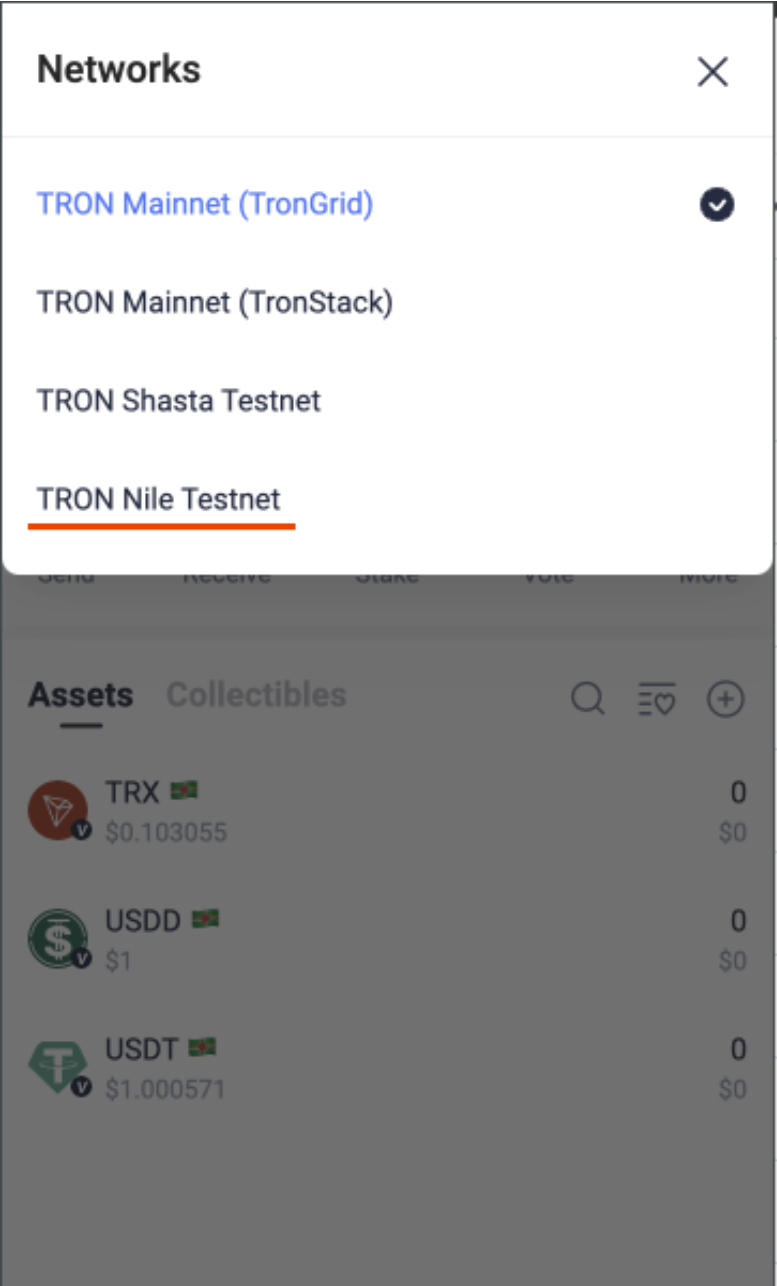
Selecting the TRON Nile Testnet
- Confirm the switch. Your wallet now shows
TRON Nile Testnetat the top. You are ready to receive test TRX and USDT TRC20.
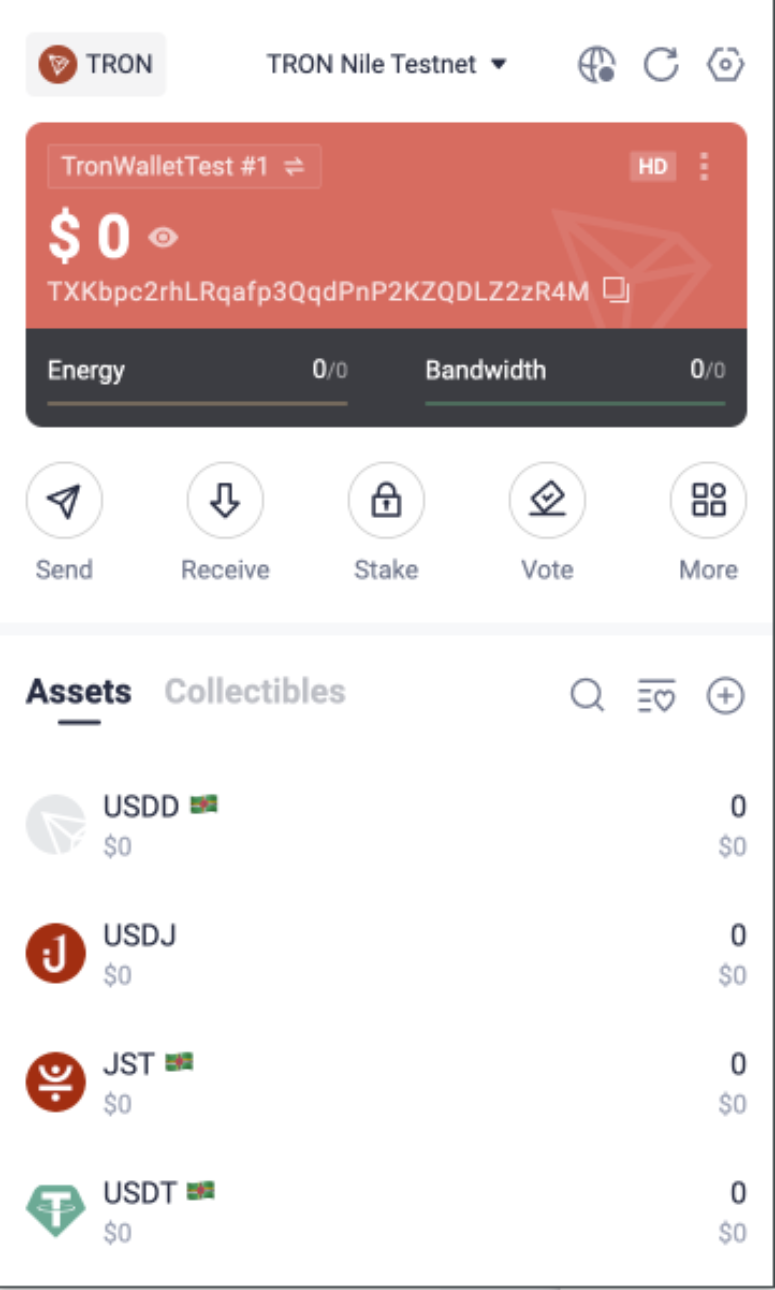
TronLink on the Nile testnet
Funding the walletTRX is required for gas on every Tron transaction, so fund your wallet with test TRX first — see Adding TRON (TRX). Then add test USDT TRC20 by following Adding USDT (TRC20).